

Flying Home with Medical Implants or Prostheses After Treatment

Most people can fly with implants or prostheses once their treating doctor confirms they are fit to travel. The implant itself rarely limits flying; the procedure and your stage of healing do. Expect a little extra time at security: tell the officer before screening starts, carry your implant card or medical report, and arrange airline assistance well before departure.
Will the new hip set off the alarm? Does anyone need to see paperwork? How do you sit for four hours when you are still healing? These are the questions patients ask on their last day in Turkey, and the honest answer is reassuring: flying home with medical implants or prostheses after treatment is usually a matter of preparation, not permission. Security staff screen passengers with implants every day. What makes the difference is knowing what to carry, what to say, and when your doctor considers you ready.
This guide walks through the journey in order: the documents worth keeping in your cabin bag, what actually happens at airport security, how flight timing is decided, and how to stay comfortable in the air with an implant, an external prosthesis, or a mobility aid.
At a glance
- When you can fly: Decided by your treating doctor based on your procedure and healing, not by the implant itself
- Key documents: Discharge summary in English, implant card or device details if provided, medication list, fit-to-fly note if your airline asks for one
- At security: Tell the officer before screening begins; you can request private screening at most airports
- No advance declaration: Most countries, including the US, do not require you to declare implants before travel
- Assistance and batteries: Wheelchair help, seating needs and battery-powered equipment are arranged with the airline in advance, not at the gate
Flying home with medical implants or prostheses after treatment: what actually changes
Very little changes about the flight itself. Cabin pressure does not affect a metal plate, a joint replacement, a dental implant or spinal hardware. What changes is the ground experience, screening may take a few minutes longer, you may want assistance through the terminal, and you will be more comfortable if your documents and supplies are within reach rather than in the hold.
The practical details depend on what you are travelling with. Implants sit inside the body: orthopaedic plates and screws, hip or knee replacements, dental implants, spinal hardware, cardiac devices such as pacemakers, cochlear implants, breast implants. Prostheses may be internal or external: an artificial limb, a breast prosthesis worn after surgery, a dental or ocular prosthesis, or a supportive external device. Each category raises slightly different questions at security and during a long flight, and this guide addresses them separately where it matters.
One point worth stating plainly: the timing of your flight home is a clinical decision about your procedure and recovery, not about the implant. A person who received a dental implant and a person recovering from a hip replacement face very different journeys home, even though both are technically flying home with medical implants or prostheses after treatment. Your treating doctor weighs the operation, anaesthesia, wound healing, mobility and flight length. This conversation happens with your treating team before discharge, and the guide on when you need fit-to-fly clearance explains how that assessment works.
Documents to keep with you, not in checked luggage
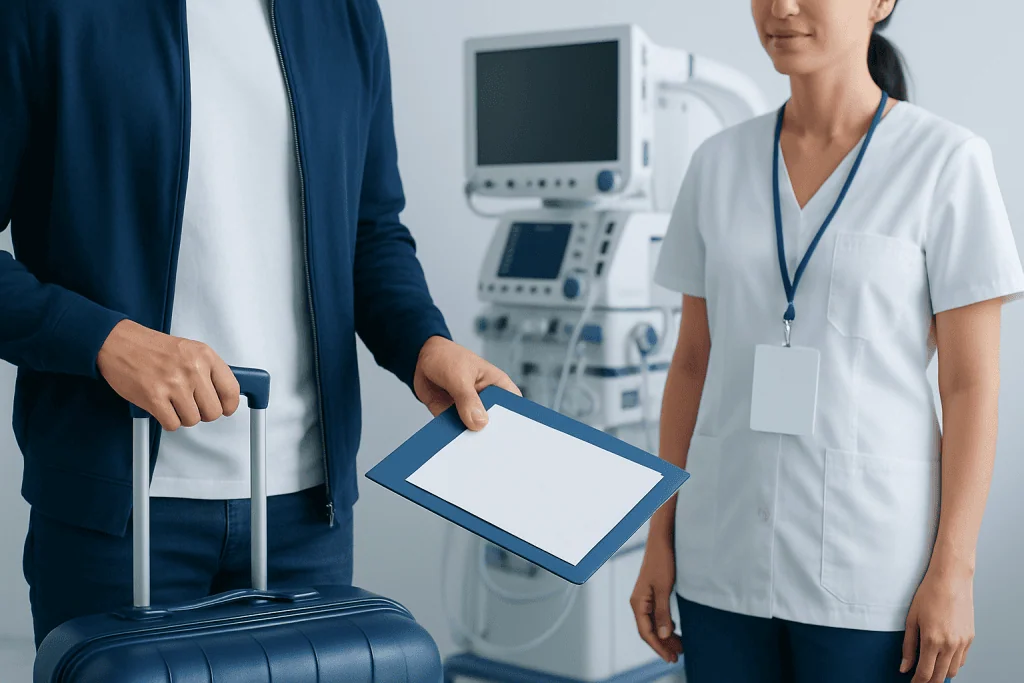
Your paperwork is more useful than any letter of introduction, and it belongs in your cabin bag, checked luggage can be delayed, misrouted, or simply inaccessible when a question comes up at check-in or security. Keep the originals in a folder you can reach with one hand, and photograph everything so digital copies live on your phone as well.
What you carry depends on your situation, but for most patients the useful set looks like this:
- Discharge summary in Englisha short account of your diagnosis, procedure and current status
- Implant card or device documentationmany joint replacements, cardiac devices and some other implants come with a manufacturer card listing the model and materials; carry it if you were given one
- Medication list with generic drug names and dosesgeneric names matter because brand names change between countries
- Prescription copies for medicines and medical supplies in your luggage
- Wound care, mobility or physiotherapy instructions from your discharge notes
- Contact details for your hospital team in Turkey and your doctor at home
Two honest clarifications. First, an implant card is helpful but not required to fly, security screening works without it, and no airport will turn you away for not having one. Second, a fit-to-fly note is not universal: some airlines request one after recent surgery or hospital admission, others do not. Check your airline’s medical policy before your travel date rather than discovering it at check-in. If you flew to Turkey with medical devices already, the preparation described in flying to Turkey with medical devices or implants applies in reverse for the journey home.
Airport security: what happens and how to make it easier

The single most useful thing you can do at security is speak early. Before screening begins, tell the officer calmly that you have a medical implant, prosthesis or device. You do not need to explain your medical history in a queue, one sentence, backed by your implant card or discharge summary if the officer asks, is enough to route you through the right process.
Do you have to declare implants in advance?
In most countries, no. There is no advance registration, no form to file, and no legal requirement to prove you have an implant. In the United States, the TSA does not require passengers to declare internal implants before travel; it does offer optional notification cards that let you inform an officer discreetly, and you may use your implant card or a medical document in the same way. European and Turkish airports work on the same principle: volunteering the information at the checkpoint speeds things up, but the screening process functions either way. Internal implants obviously cannot be removed, and screening procedures are built around that fact.
Can scanners see your implant?
Not in the way people imagine. Walk-through metal detectors do not produce an image at all: they simply alarm when they detect enough metal. Body scanners of the millimetre-wave type used in many airports display a generic human outline and flag areas where the machine detects something unexpected; they do not show your anatomy or produce a medical image. If a scanner flags the area over your hip replacement or spinal hardware, the officer resolves it with a targeted pat-down or a hand-held detector. This is routine, and it is why mentioning the implant first saves time: the officer already knows what the flag will be.
What different implants and devices mean at the checkpoint
| What you have | What typically happens |
|---|---|
| Orthopaedic metalwork (joint replacements, plates, screws, spinal hardware) | May trigger a metal detector depending on the alloy and amount of metal; resolved with a body scanner, wand or pat-down |
| Cardiac devices (pacemaker, ICD) | Tell staff before screening and carry your device card; follow the manufacturer’s guidance on screening equipment, which is usually printed on the card |
| Cochlear implant | Mention it before screening; follow the manufacturer’s instructions for the external processor |
| Dental implants | Rarely trigger anything; no special steps usually needed |
| Silicone prostheses (breast implant or external breast prosthesis) | No metal, so detectors stay silent, but a body scanner may flag the area; you can request private screening |
| External limb prosthesis | Additional screening is normal, visual inspection, swabbing for trace detection, sometimes imaging of the prosthesis; removal is generally not required if it is difficult for you |
At any point you may request a private screening room, and you may ask for a companion or interpreter to be present where airport rules allow it. If the process touches something sensitive, a breast prosthesis after cancer treatment, for example, private screening exists precisely for this, and asking for it is unremarkable.
If you are travelling with crutches, a walker, a brace or a wheelchair, allow extra time: staff may inspect mobility equipment separately. Keep small accessories, liners, sleeves, adjustment tools, chargers, together in one pouch so you can show them without unpacking your bag. The separate guide on flying home with a cast, brace or limited mobility covers that side of the journey in more depth.
When flying is usually possible, and when doctors say wait
There is no universal timetable, and any page that gives you one is guessing. The implant is almost never the limiting factor; the surgery is. Broadly, doctors think about three things when deciding whether you are ready for a flight home.
Trapped air and pressure changes. Cabin pressure at cruising altitude is lower than at sea level, so any air left inside the body after a procedure expands. This is why certain operations, some eye surgery involving a gas bubble, some brain, chest or abdominal procedures, or anything complicated by a collapsed lung, typically mean a longer wait before flying, decided case by case. This is also the honest answer to the common question of which surgery you “cannot” fly after: there is no fixed list, but procedures involving trapped gas or unhealed body cavities are the ones most likely to delay travel.
Wound healing and complication risk. The first days after surgery are when problems, if they occur, tend to appear. Doctors generally prefer that window to pass under observation rather than at ten thousand metres. Before departure, your team also reviews anything that should be reported first: the guide on warning signs to report before flying home explains what that pre-flight review covers.
Immobility and the flight itself. Long periods of sitting after surgery carry their own considerations, which is why your discharge instructions may include movement advice or compression stockings for the flight. These instructions are individual; follow yours rather than a general list from the internet.
Dental implants deserve a specific mention because they are among the most common reasons international patients fly. The implant itself is unaffected by cabin pressure. What matters is the surgery around it: recent sedation, bleeding, swelling, or procedures involving the sinus can all shape the advice you receive, and a straightforward single implant is a different situation from a bone graft or sinus lift. Your dentist gives you a timeline for your case; the guide on flying after dental surgery and dental implants explains how those timelines are decided.
Comfort and safety during the flight
Sitting for hours is often the hardest part of the journey home, particularly after orthopaedic or spinal procedures. Most of the discomfort can be planned away before you board.
- Seat choice: an aisle seat makes standing, stretching and reaching the toilet far easier if your mobility is limited; a bulkhead row can help if you cannot bend a joint fully
- Hand luggage: keep medicines, water, medical documents, wound supplies and essential device accessories under the seat in front of you, not in the overhead bin you cannot reach
- Movement: gentle ankle exercises, position changes and short walks are recommended for some travellers, but only within the limits your doctor set, do not force movement beyond your discharge instructions
- Timing of medicines: take medications on the schedule your doctor gave you, adjusting the clock for time zones as your team advised before discharge
- Boarding: pre-boarding, help lifting a bag, and assistance to your seat are all standard airline services, arranged in advance, not negotiated at the gate
Some patients travel with a professional escort, a nurse or doctor who accompanies the flight, when recovery is more involved or the journey has connections. This is a planned service rather than an emergency measure; the guide on medical escort services for flying home describes when it is used and how it is arranged.
External prostheses, mobility aids and batteries
An external prosthesis needs slightly different planning from an internal implant. Long sitting, post-treatment swelling and cabin conditions can change how a socket fits, so bring the liners, socks, straps, skin products and adjustment tools you normally use, and keep the essentials in the cabin, because a checked bag that misses a connection should not leave you unable to walk.
Mobility aids, crutches, canes, walkers, wheelchairs, are accepted by airlines as a matter of course, but the rules around size, storage and batteries are specific and vary by carrier. If your wheelchair or any prosthetic component uses lithium batteries, tell the airline well before departure: watt-hour limits, battery removal requirements and packaging rules differ between airlines and countries, and gate staff cannot improvise around them.
- Label your prosthesis case, wheelchair or mobility aid with your name and phone number
- Photograph mobility equipment before check-in so any transit damage is easy to document and report
- Carry detachable parts, chargers and essential accessories in the cabin where possible
- Ask the airline whether you can use your own wheelchair to the aircraft door
- Request assistance at every airport on your itinerary, including connections: a request at your departure airport does not automatically cover a transfer
Follow-up care after you arrive home
The journey ends properly when your care continues at home. A good handover from your hospital in Turkey to your doctor at home includes the discharge summary, imaging copies where relevant, the implant or device documentation, medication instructions, and a clear review schedule. Ask your treating team to prepare this documentation before discharge, and to confirm which items can be provided in a language you read comfortably.
Once home, keep to the review schedule your treating physician set, and share your treatment records with your local doctor at the first appointment: a joint replacement, spinal hardware or cardiac device becomes part of your permanent medical record, and future clinicians will want the model details for imaging decisions and ongoing care. Your discharge notes describe what is expected during healing and what falls outside it; keep them accessible rather than filed away.
Step by step
- Confirm you are fit to travel. Before booking or boarding, ask your treating doctor when flying is appropriate for you. The answer depends on your procedure, healing, mobility, medication and flight length, not on the implant.
- Request your travel documents early. Discharge summary, prescriptions, implant or device details, and any fit-to-fly note your airline requires. Keep printed copies in your cabin bag and photos on your phone.
- Contact your airline before departure. Arrange wheelchair assistance, extra boarding time, mobility equipment handling and battery approval. With connecting flights, confirm assistance at every airport, not only the first.
- Pack a medical cabin bag. Medicines, wound supplies, prescribed compression items, device accessories, chargers and documents travel in the cabin, with more supplies than you expect to need, in case of delays.
- Arrive earlier than usual. Extra time absorbs slower walking, documentation questions, equipment checks and private screening without stress.
- Speak first at security. Tell the officer about your implant, prosthesis or device before screening starts. Show documentation if asked; request private screening if you prefer it.
- Follow your in-flight plan. Medicines on schedule, movement within your prescribed limits, and essentials under the seat in front of you rather than overhead.
- Hand over to your doctor at home. Share your records at your first local appointment and keep to the review schedule your treating team set.
Your checklist
- Doctor has confirmed you are fit to fly
- Discharge summary and medical report are in your hand luggage
- Implant card or prosthesis documentation is packed, if you were given one
- Medication list uses generic drug names, with prescription copies
- Airline assistance and mobility support are booked in advance
- Battery-powered devices have been approved by the airline
- Essential medicines and device accessories are in your cabin bag, not the hold
- You know what your discharge notes say to expect during healing
- Follow-up schedule and hospital contact details are saved on your phone
- Travel insurance details are accessible
Key takeaways
- Flying home with medical implants or prostheses after treatment is usually straightforward once your doctor has cleared you to travel: the procedure, not the implant, sets the timing.
- Carry your discharge summary, implant details, prescriptions and essential supplies in your cabin bag, never in checked luggage.
- No advance declaration is needed at security in most countries, including at TSA checkpoints; telling the officer before screening simply makes the process smoother.
- Scanners flag areas, they do not image your body: a flagged implant is resolved with a routine targeted check, and private screening is yours to request.
- Airline assistance, seating, mobility equipment and battery rules are all arranged before departure, and separately for every airport on your route.
Frequently asked questions
Do I need to declare medical implants at TSA?
No advance declaration is required. The TSA does not ask passengers to register or prove internal implants before travel. Telling the officer at the checkpoint before screening begins is recommended because it speeds up the process, and the TSA offers optional notification cards for passengers who prefer to communicate this discreetly. An implant card or medical document works just as well but is not mandatory.
Can TSA see my implants?
Not as an image. Walk-through metal detectors only alarm on metal: they display nothing. Millimetre-wave body scanners show officers a generic outline and highlight areas where something is detected; they do not reveal your anatomy. If your implant is flagged, the officer resolves it with a targeted pat-down or hand-held detector, which is routine and takes a few minutes.
Will my implant set off the metal detector?
It depends on the material, the amount of metal and the equipment. Large orthopaedic implants such as hip or knee replacements often trigger detectors; small plates, screws and dental implants frequently do not. Silicone prostheses contain no metal and stay silent, though a body scanner may still flag the area. Either way, the resolution is the same short, routine check.
Is it safe to fly after dental implants?
Cabin pressure does not affect the implant itself. What matters is the surgery around it, recent sedation, bleeding, swelling, or procedures involving the sinus such as grafts or sinus lifts can all change the advice. A straightforward placement and a complex reconstruction lead to different timelines, so the waiting period is set by your treating dentist for your specific case rather than by a general rule.
What surgery can you not fly after?
There is no fixed list, but some situations reliably delay flying: procedures that leave air trapped in the body, certain eye operations involving a gas bubble, some brain, chest or abdominal surgery, and any recovery complicated by a collapsed lung. Air expands at cabin altitude, which is why these cases wait longest. Your treating doctor decides the timing for your specific operation.
Do I need a special letter to fly with an implant or prosthesis?
Not usually for the implant itself, security screening does not require proof. However, some airlines request a fit-to-fly note after recent surgery or hospital admission, and a discharge summary in English is worth carrying regardless because it answers most questions at check-in or security in seconds. Check your airline’s medical policy before your travel date.
Can I wear my prosthesis through airport security?
In most airports, yes. Security staff may carry out additional screening, visual inspection, trace swabbing, sometimes imaging of the prosthesis, but removal is generally not required if taking it off is difficult or uncomfortable for you. Say so plainly, and request a private screening room if you prefer; both are standard options, not special favours.
Add us as a Preferred Source to see more of our trusted health content across Google Search, AI Overviews and Discover.

Update history
- PublishedJune 22, 2026
- Medical review approvedSeptember 13, 2026
- Last content updateSeptember 12, 2026
References2
- Deep Vein Thrombosis: MedlinePlus medlineplus.gov
- Traveler's Health: MedlinePlus medlineplus.gov
More Patient Guides

Flying After a C-Section: Timing for New Mothers
A C-section is real abdominal surgery that happens to come with a newborn attached, so the flying question has two clocks…

When Can You Drive After Anesthesia or Sedation?
You feel fine an hour after the procedure. You are chatting, you walked to the car unaided, you could obviously drive it.…

Flying After Hip Replacement: When Is It Safe?
Hip replacement recovers famously well, many patients walk further at three weeks than they had in three years. Flying is part…

Flying After Knee Replacement: When Is It Safe?
The knee is new, the physio is going well, and there is a boarding pass with your name on it. Flying after…